Image Categories
This functionality allows you to organise your images into an intuitive tree structure. You can easily create new categories, organise in several levels and classify pictures by dragging and dropping.
| Type: | Default - All the clients will have this functionality available |
| Where: | SmartCMS - You will find the tool in the SmartCMS |
| Scope: | CMS - This is a tool that improves the usability of the CMS. |
Important note: All the pictures must be previously uploaded in the SmartCMS.
- Where can I find the setup for Image Categories?
- How do I setup the Images Categories?
- Where can I use Images Categories?
Where can I find the setup for Image Categories?
Go to Section “2. Manage Content” > “Images” > “Image Categories“.
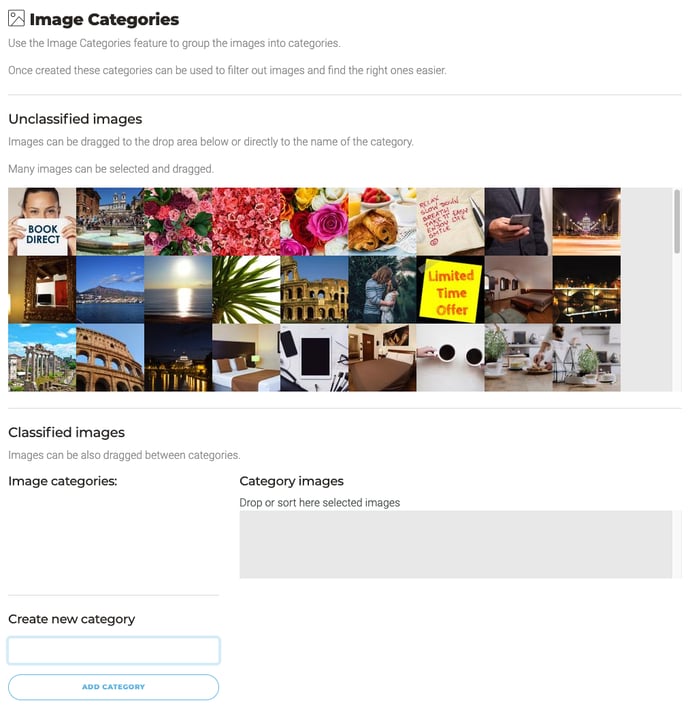
How do I setup the Images Categories?
Go to Section “2. Manage Content” > “Images” > “Image Categories“.
1. Create your Categories:
You must create the desired Categories, then you’ll be able to organize the images within the categories.
You can create new categories typing the name into the “New Category” input field and pressing the “+ Add” button.

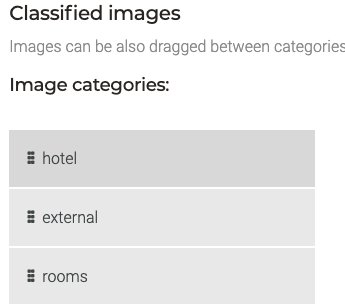
2. Organise your Categories Tree:
By default, all the new categories are assigned to the first level.
Categories support up to three levels. Use drag and drop to set the category to its corresponding level.
If you already have images assigned to a Category, those images will remain in that category even if you change the tree structure.
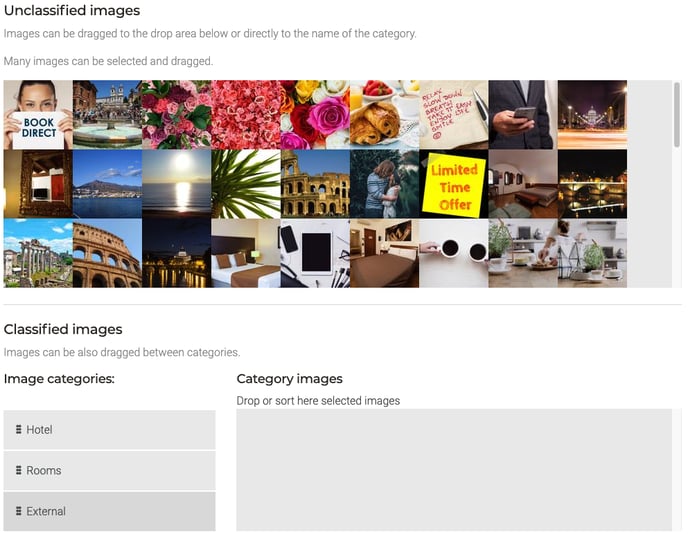
3. Organize images:
Classify: You can Drag and Drop images from the “Unclassified images” section or from the “Drop section” on the right of the “Category Tree” to:
-
Any category in the Categories Tree
-
To the “Drop section”
You can also Drag and Drop images between Categories in the Categories Tree.
Sort: You can Drag and Drop images into any category to organize them.
Remove: You can Drag and Drop images from any category to the “Unclassified images” section.
4. Save the changes:
Use the “Save” button at the bottom of the page to store all the changes.

Where can I use Images Categories?
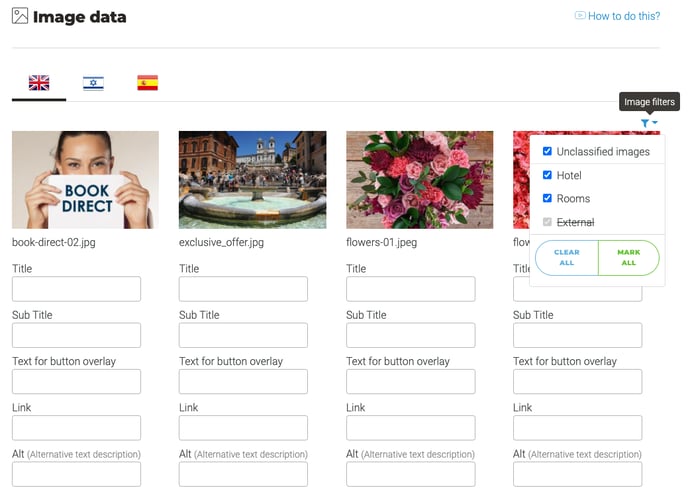
You will be able to filter the images by Images Categories in the main functionalities of the SmartCMS. You will identify this functionality with a funnel icon.
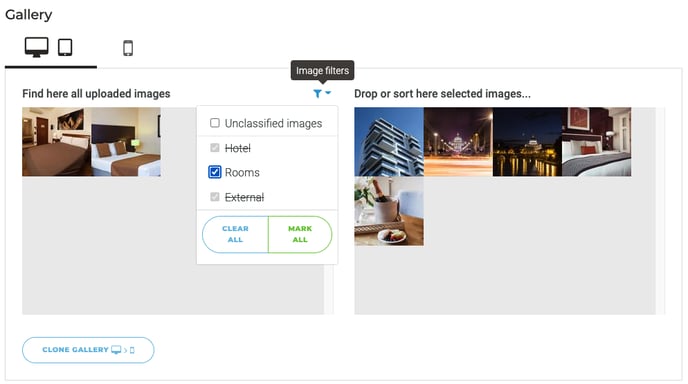
In the filter, you can see all the Categories Tree and:
-
Mark one or multiple categories using the checkboxes
-
Unmark one or multiple categories using the checkboxes
-
“Mark all” the categories
-
“Clear all” the categories
Crossed out categories are categories empty of images.
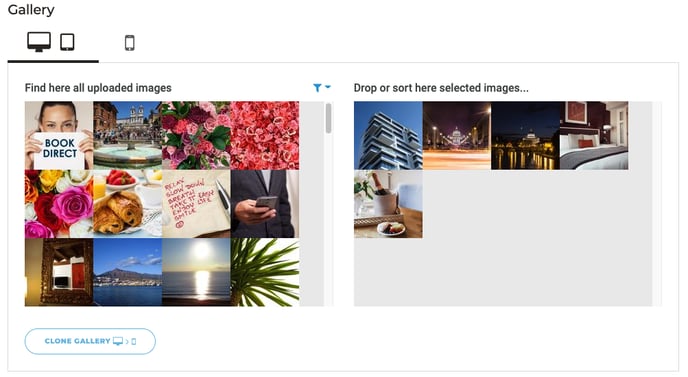
Edit Page: Go to Section “2. Manage Content” > “Menu & Pages” > “Edit” a page and scroll to the Gallery Section
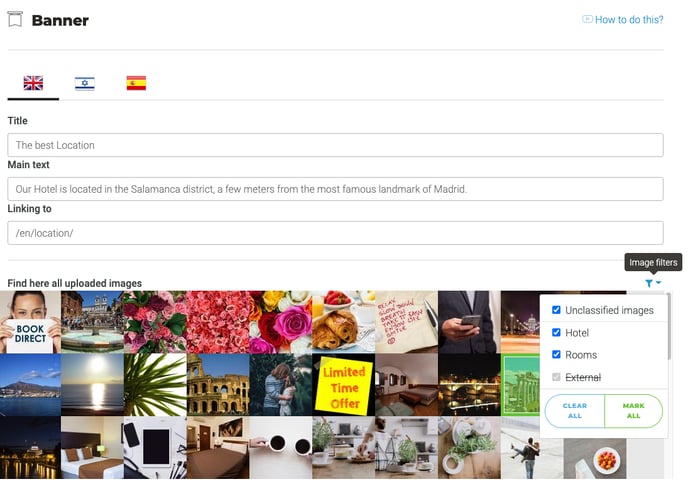
Banners: Go to Section “3. Optimise sales” > “Banners” > “Create a new Banner” or Edit a banner.
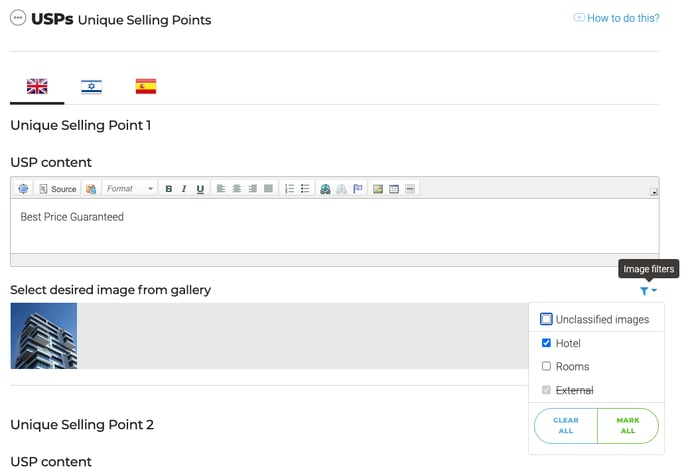
USPs: Go to Section “3. Optimise sales” > “USPs”
Popups: Go to Section “3. Optimise sales” > “Popups” > “Home Popup” or “Abandon Popup”

Image data: Go to Section “2. Manage Content” > “Images” > “Images Data”
