You can create as many as you need in the website and specify them by topic, service, source, etc. For example: Spa treatments, courses information, etc.
| Type: | Premium |
| Where: | Template of the page - You must specify the Custom Form as template for the page. |
| Scope: | Per page - You can define different or the same form per each page. |
| Dependencies: |
Template per page |
- Where can I find the setup for Custom Forms?
- How do I setup the Custom Forms?
- How do I add a Custom Form in a page?
- Field Types available
- Is the look and feel customisable?
- Some real examples
Where can I find the setup for Custom Forms?
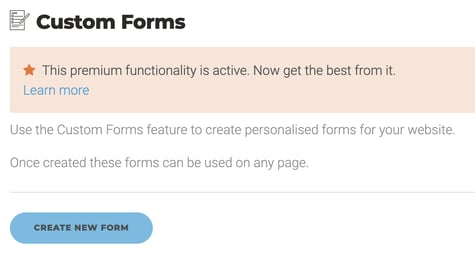
Go to Section “2. Manage Content” > “Custom Forms” and you will be able to create the Custom forms. You must always create the Custom Form before adding it to a page.
Then go to Section “2. Manage Content” > “Menu & Pages” > “Edit” the page where you want to add the Custom form and choose the “Custom form” template.
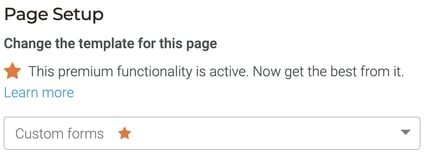
If you don’t have Custom forms defined in the SmartCMS you will see:
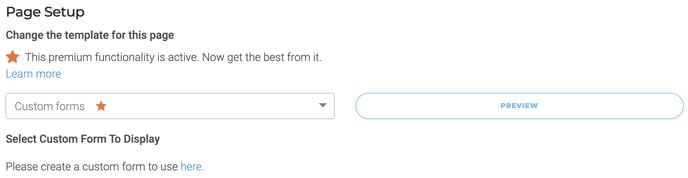
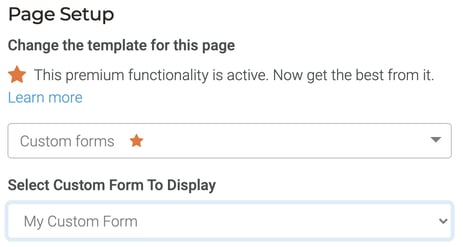
If you already have Custom forms defined in the SmartCMS you will see:
If you don’t have the Custom Forms activated you will not be able to see the Custom Forms template in the Template dropdown.
If you don’t have the Template per page activated you will not be able to see the “Change the template for this page” section at all.
1. Create your Custom Form:
You must create your Custom Form before you are be able to use it.
The First step is to create a new Custom Form using the button of the section.
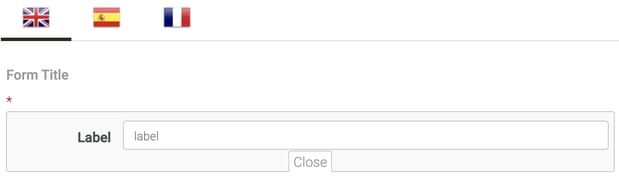
2. Choose the title (per language):
Choose the title of the form per each one of the language of the website.
3. Add the fields of the form:
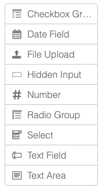
You can add as many fields as you want to the form. You can choose between a long list of available field types.
You can “delete”, “edit” or “clone” any field whilst while you are editing the Custom Form.
You can also specify if a field is “Required”
The client will not be able to send a form without filling all the “Required” fields.
All the required fields will appear with an asterisk.
4. Add the translations:
You must add the translations for all the texts (like title or value) in each language. You only need to click on the flags and fill in the forms per each language.

5. Save the changes:
Use the “Save” button at the bottom of the page to store all the changes. This will add a new available Custom Form in the Custom Forms dropdown.


Clone: Creates a duplicate of the original custom form.
Choose the desired Custom Form in the dropdown and click in the “Clone” button.
Then edit the fields if you want and store the form using the “Save” button at the bottom of the page.
You must assign the cloned form to a page to use it.
Edit: Allows you to modify the custom form.
Choose the desired Custom Form in the dropdown and click in the “Edit/Delete” button.
Then edit the fields if you want and store the form using the “Save” button at the bottom of the page.
The new setup of the Custom form will be shown in all the pages where the Custom Form is or will be setup.
Delete: Allows you to delete the custom form.
Choose the desired Custom Form in the dropdown and click in the “Edit/Delete” button.
Then use the “Delete” button at the bottom of the page. A message popup will appear asking for confirmation. Click in the “Delete” button in the popup to proceed.
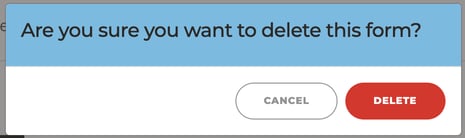
The custom form will no longer be available in the dropdown of custom forms.
1. Setup the template of the page:
Choose the “Custom forms” template in the “Change the template of the page” dropdown in the “Page Setup” section AND save page to confirm the change.
2. Choose the desired Custom form:
Choose the Custom form you want to display in the page from the “Select Custom Form to Display” Dropdown.
Only 1 custom form can be displayed per page.
You must create the custom form previously to assign it to any page.
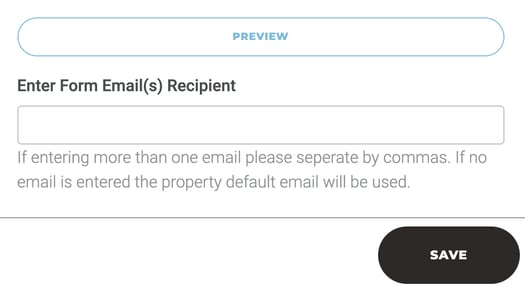
3. Configure the recipients of the form:
Add the emails to whom you want to send the information of the filled forms.
You can add as many of them as you want if you separate the email addresses with commas.
4. Assign Contact Form page module - Klimt theme ONLY
If you are using the Klimt theme you will be required to assign the Contact Form page module to the page so it can be positioned on the page.

Read more : Page modules
5. Save the changes:
Use the “Save” button at the bottom of the page to store all the changes. This will add the custom form to the page.
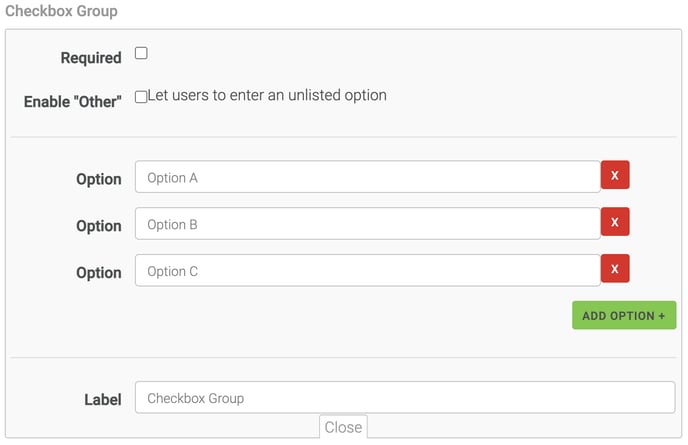
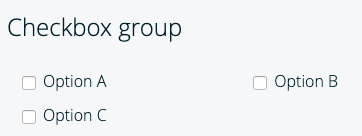
Checkbox Group
Creates a list of checkbox options. The client will be able to select multiple options during the form fulfilment.
Options:
-
Required: to make it mandatory to choose at least one. The required fields will appear with an *
-
Enable “Other”: to let the client specify a non listed option
-
Options: Each one of the options to be added to the checkbox group. If you want to add more you can click on the “Add Option +” button.
If you want to remove, you can click on the red “X” button -
Label: To specify the Title.
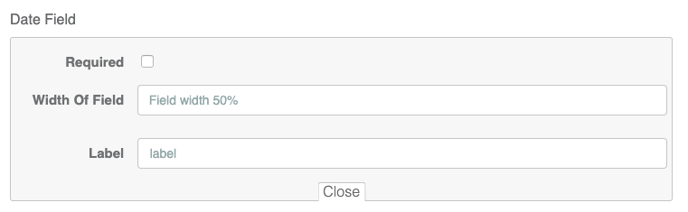
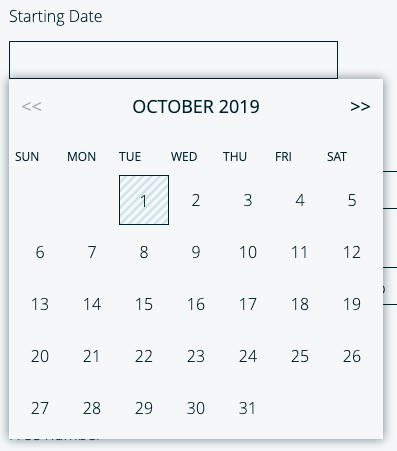
Date field
Creates a field to specify a date typing it or using the calendar.
Options:
-
Required: to make it mandatory to choose a date. The required fields will appear with an *.
-
Width of the field: to specify the space to be used in the form. It can be:
-
50%
-
100%
-
-
Label: To specify the Title.
File Upload
Creates an input to be able to upload a file to the form.
Options:
-
Required: to make it mandatory to choose a field. The required fields will appear with an *.
-
Label: To specify the Title.


Hidden Input
Creates a hidden field to add information not visible for the client. For example, the source of the form.
Options:
-
Label: To specify the Name of the field.
-
Value: To specify the value of the field.
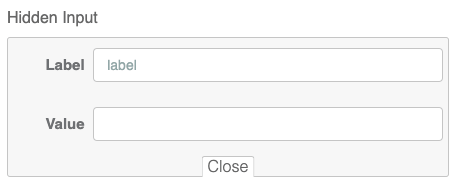
Not visible in the form in the page.
But visible in the code:
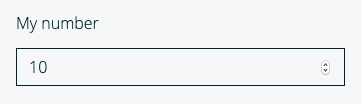
Number
Creates a field to add exclusively numbers.
Options:
-
Required: to make it mandatory to input a number. The required fields will appear with an *..
-
Min: minimum number allowed in the field.
-
Max: maximum number allowed in the field.
-
Step: to specify the minimum increment per each valid number, starting in the min value and ending in the max (both are mandatory to specify Step).
As example:-
Min: 0
-
Max: 10
-
Step: 2
-
Valid values: 0, 2, 4, 6, 8 and 10
-
-
Width of the field: to specify the space to be used in the form. It can be:
-
50%
-
100%
-
-
Label: To specify the Title.
-
Placeholder: Descriptive text to be shown in the field. Very useful to specify, for example, instructions.
-
Value: Default value to be shown in the field

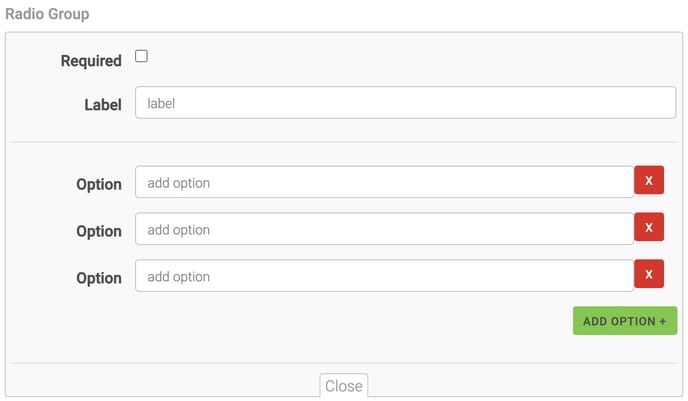
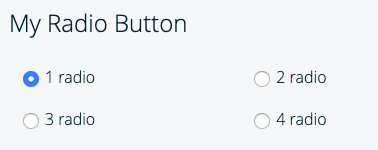
Radio Group
Creates a list of radio buttons options. The client will be able to select only one option during the form fulfilment.
Options:
-
Required: to make it mandatory to choose an option. The required fields will appear with an *.
-
Label: To specify the Title.
-
Options: Each one of the options to be added to the radio group. If you want to add more you can click on the “Add Option +” button.
If you want to remove, you can click on the red “X” button
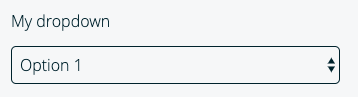
Select
Creates dropdown list with options. The client will be able to select only one option during the form fulfilment.
Options:
-
Required: to make it mandatory to choose an option. The required fields will appear with an *.
-
Width of the field: to specify the space to be used in the form. It can be:
-
50%
-
100%
-
-
Label: To specify the Title.
-
Options: Each one of the options to be added to the dropdown. If you want to add more you can click on the “Add Option +” button.
If you want to remove, you can click on the red “X” button

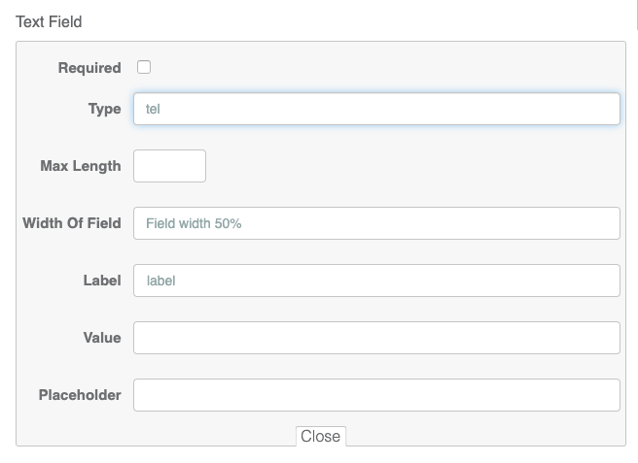
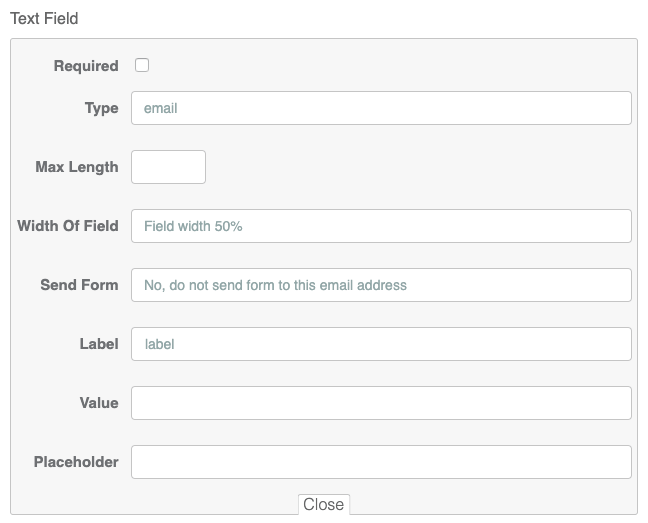
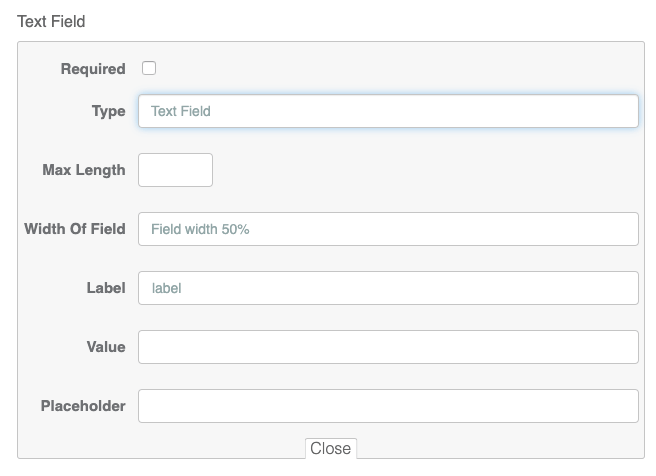
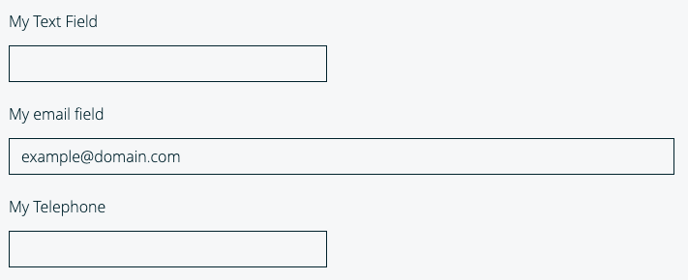
Text Field
Creates a field to add a short text.
Options:
-
Required: to make it mandatory. The required fields will appear with an *.
-
Type: You can choose between 3 options. Each one implies a proper validation:
-
Text Field: to specify generic short text
-
Email: To specify emails.
If you choose this option you must choose also if you want to send a copy of the form to the specified email or not using the “Send Form” option. -
Tel: To specify telephone numbers.
-
-
Max Length: maximum number of characters allowed in the field.
-
Width of the field: to specify the space to be used in the form. It can be:
-
50%
-
100%
-
-
Label: To specify the Title.
-
Value: Default value to be shown in the field
-
Placeholder: Descriptive text to be shown in the field. Very useful to specify, for example, instructions.
Text Field:
Email:
Tel:
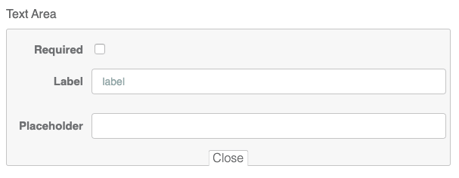
Text Area
Creates a field to add a long text.
Options:
-
Label: To specify the Name of the field.
-
Placeholder: Descriptive text to be shown in the field. Very useful to specify, for example, instructions.

Please, contact us if you want to activate the above premium functionality.