| Type: | Premium |
| Where: | This control is available on all styles excluding Picasso, Warhol and Klee. |
| Scope: | In the Klimt theme, you can assign the location map module per page for both desktop and mobile. However, for all other themes, the map is embedded only on the Homepage and Location page template. |
Go to Section “2. Manage Content” > “Points of interest”
We will create a category called "Things to do," to which we will add a Point of Interest called "Alcazaba." Finally, we will demonstrate how to display it on the map on the location page of your website.
Go to the Points of interest section of the Smart CMS and add categories and create points of interest so they can be assigned to the location page on the website.
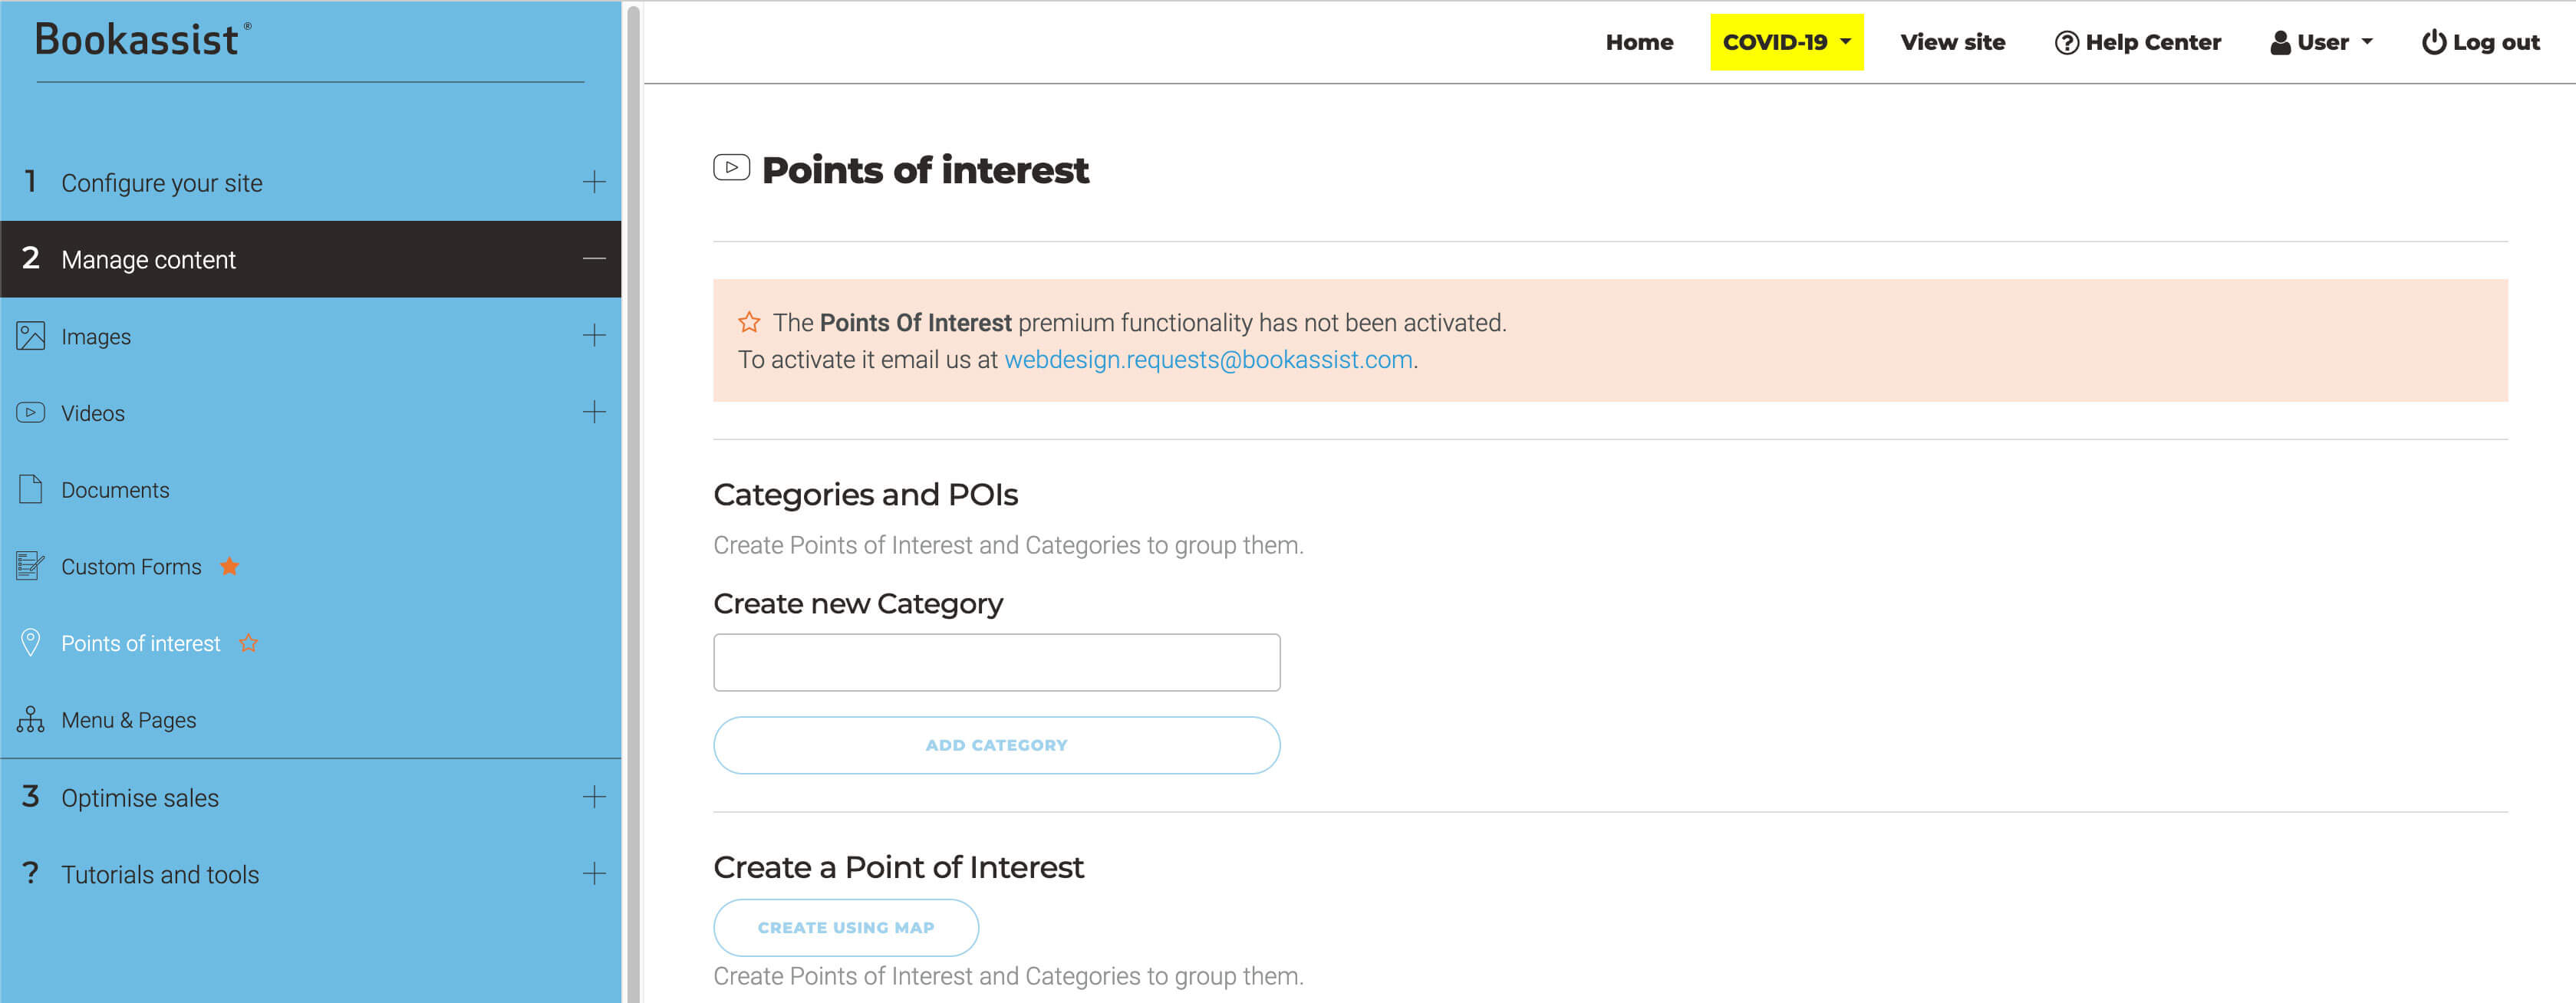 |
If the "ADD CATEGORY" and "CREATE USING MAP" buttons are disabled then the MAP API is not entered or configured correctly. See add map API and ensure google cloud platform is configured correctly.
- Create Category
- Create POI
- Assign Category
- Edit POI
- Select Categories to display on the Location Page
- Preview your website
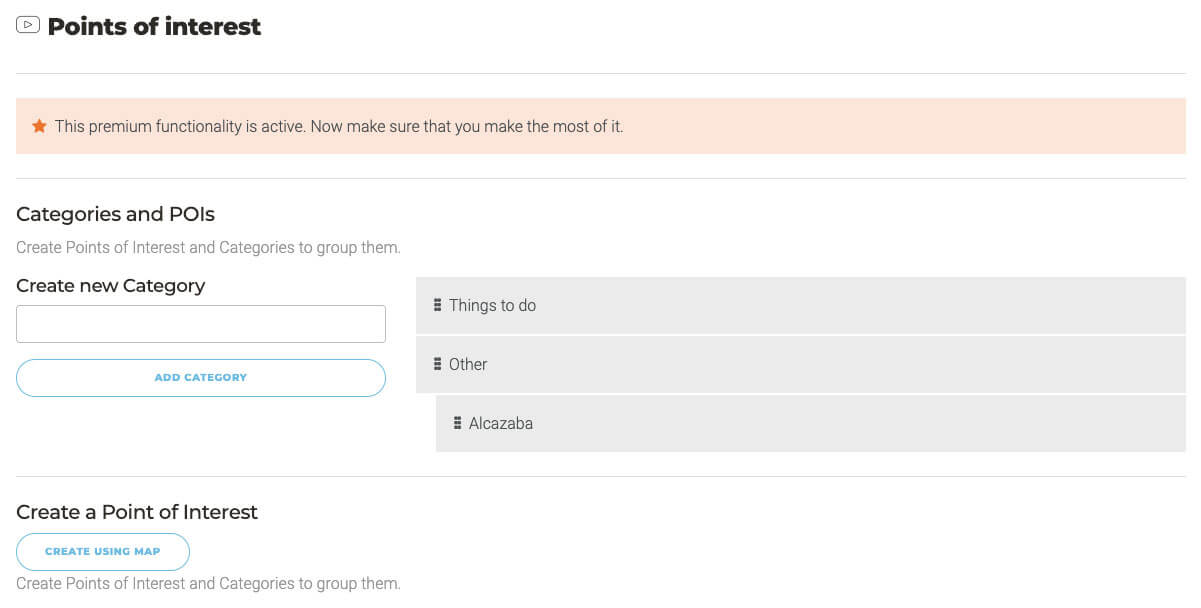
1. Create Category
To create a category enter the label in the field and select the "ADD CATEGORY" button.
 |
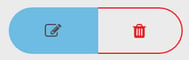
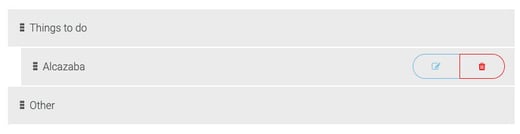
The new entry will appear on the right side enabling you to edit OR delete.
Fill in all the required information for the POIS category.
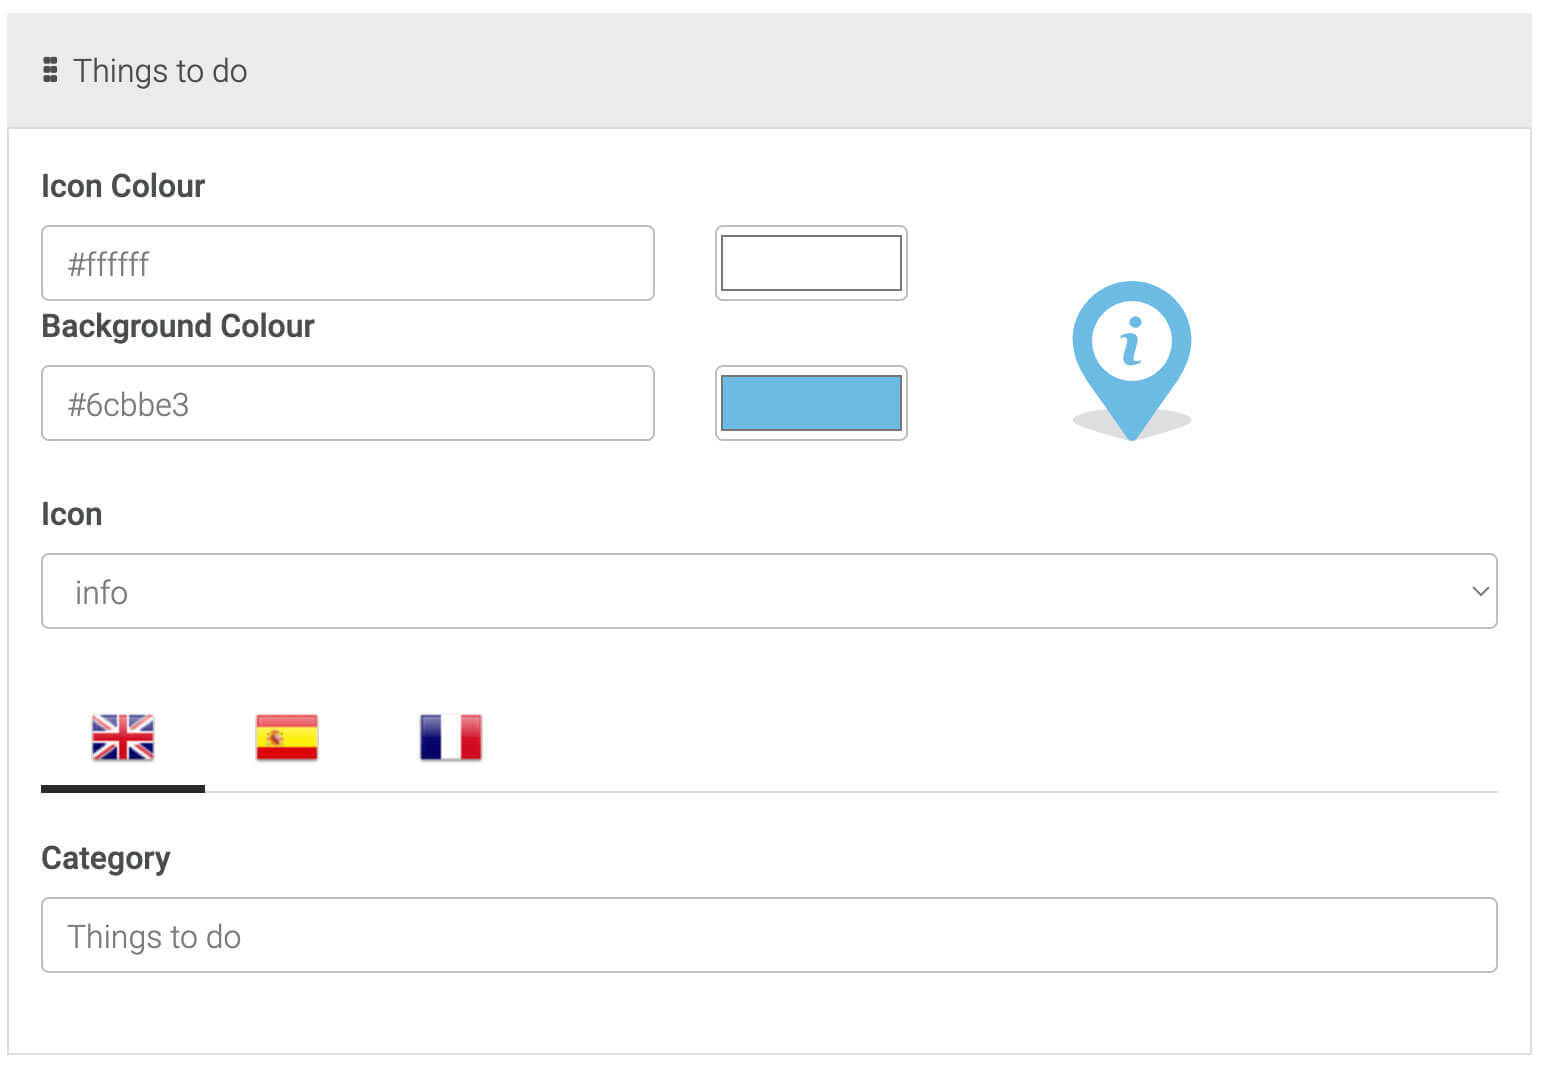 |
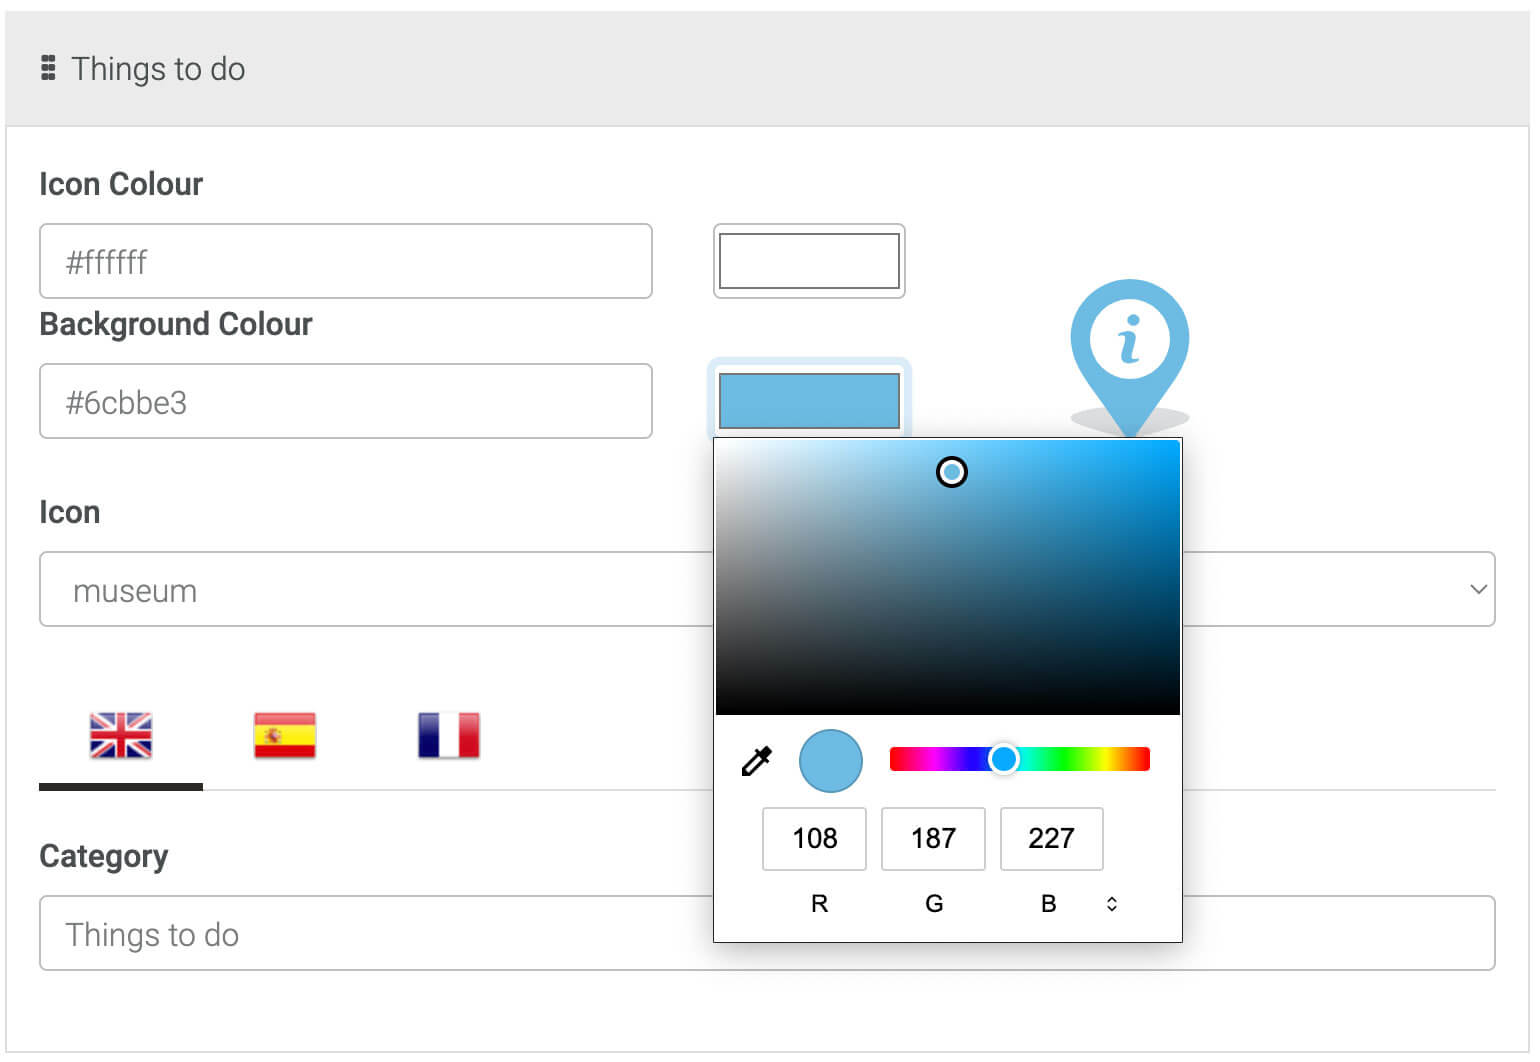
| Change Icon colour You can either enter a color with the colour picker or add it manually in RGB, HSL or HEX format. |
Change icon pic |
 |
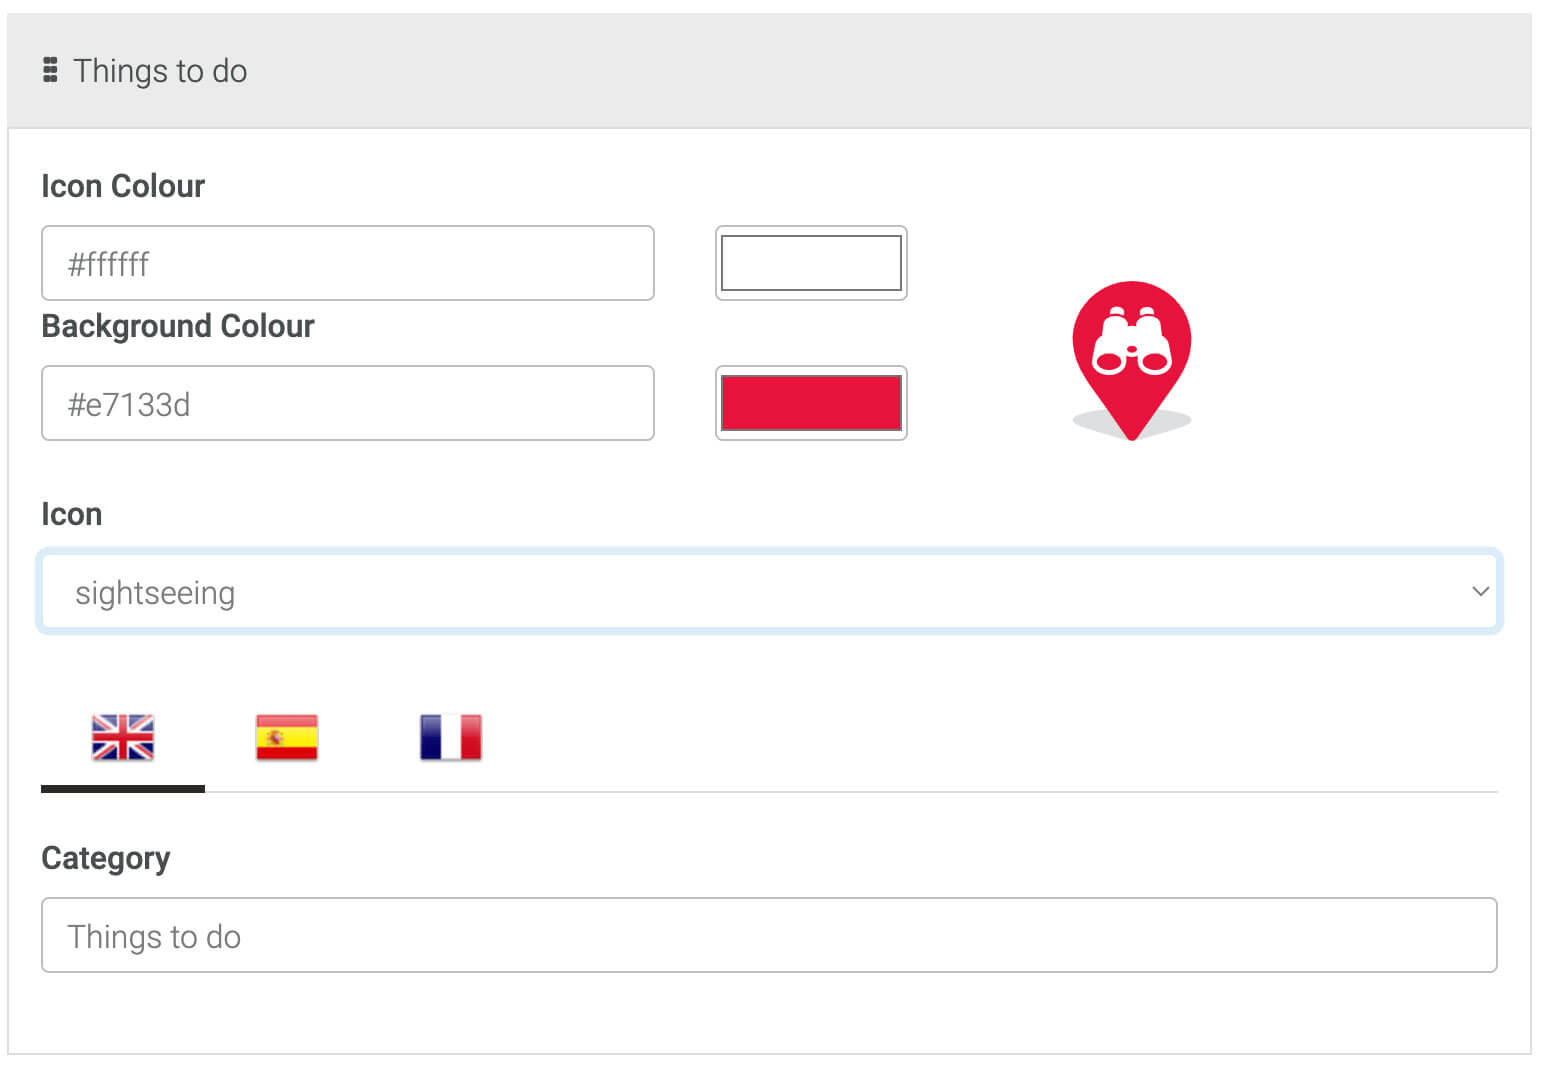 |
You also have the option to add the translation for the category label. Simply select the flag icon to switch the fields.
A default category called "Other" is automatically created if it does not already exist. This default category won't be visible on any map on location or homepage page. Please move the newly created POI to another category so it can be selected for the desired page.
2. Create POI
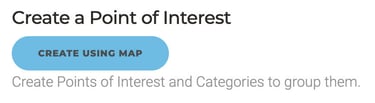
Select "CREATE USING MAP" button to open a dialog box/popup of options. There are two alternative ways of adding POIs to the map: -
Search by address (the most common and easier one)
Just type the address or Point of Interest name and click on "Search".
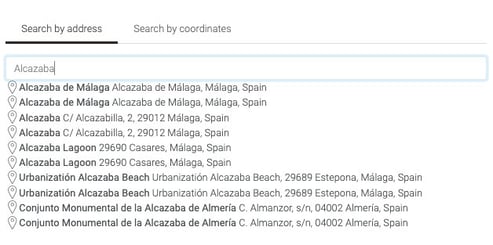 |
Search by coordinates
You can click on the map where you want to add the Point of Interest.
Alternatively you can add manually a Latitude and a longitude an click on "Search".
 |
| Search by address "Alcazaba". | Add POI Name & Description |
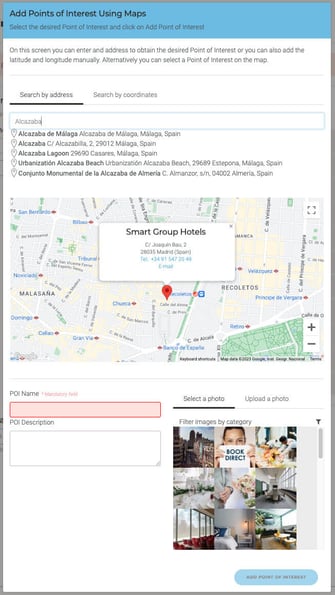 |
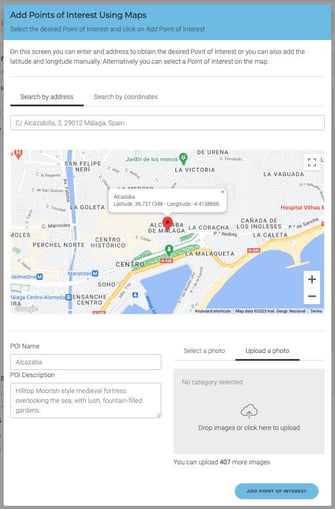 |
POI Name is *required field so you will not be able to save the POI until this has been entered.
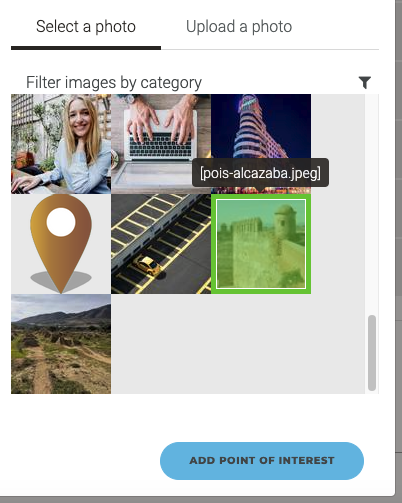
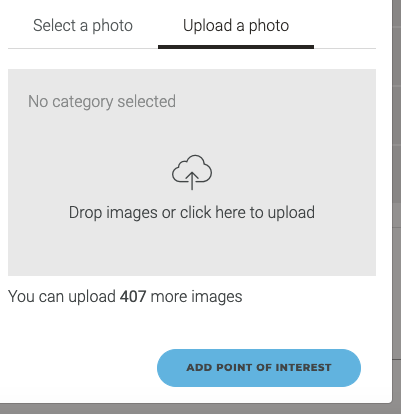
Select or Upload image
You can either select an existing image OR upload a new photo to the CMS as shown below.
| Select a photo | Upload a photo |
 |
 |
Save POI
Selecting the ADD POINTS OF INTEREST button will add and save the "Alcazaba" POI to the menu.
3. Assign Category
Having saved the POI, the dialog box/popup will close and you will see "Alcazaba" POI added to the default "Other" category. You will notice it is indented as a secondary item (child) to the main group item (parent) category.
 |
Drag and drop items to change the category group.
4. Edit the POI
Edit the map pin if necessary and add translations.
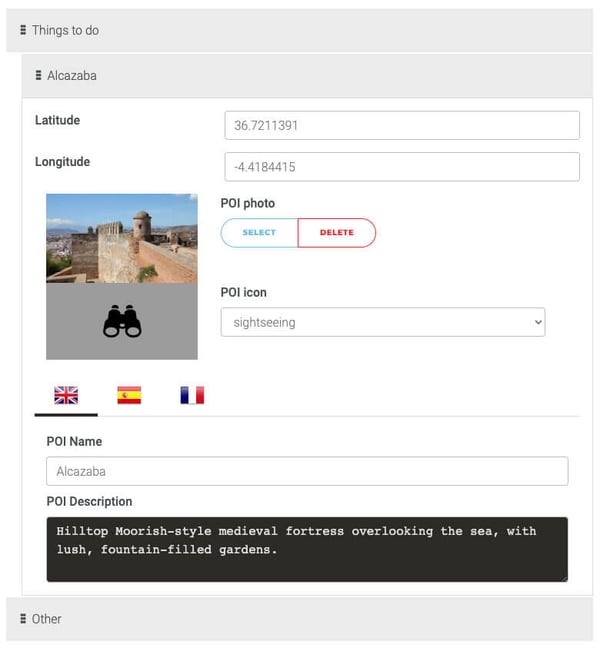 |
POI icon by default will display the same icon as the parent category. If you want to select a different icon, please choose one from the dropdown list.
Always use SAVE button on the bottom right of screen to save any changes.

5. Select Categories to display on the Location Page
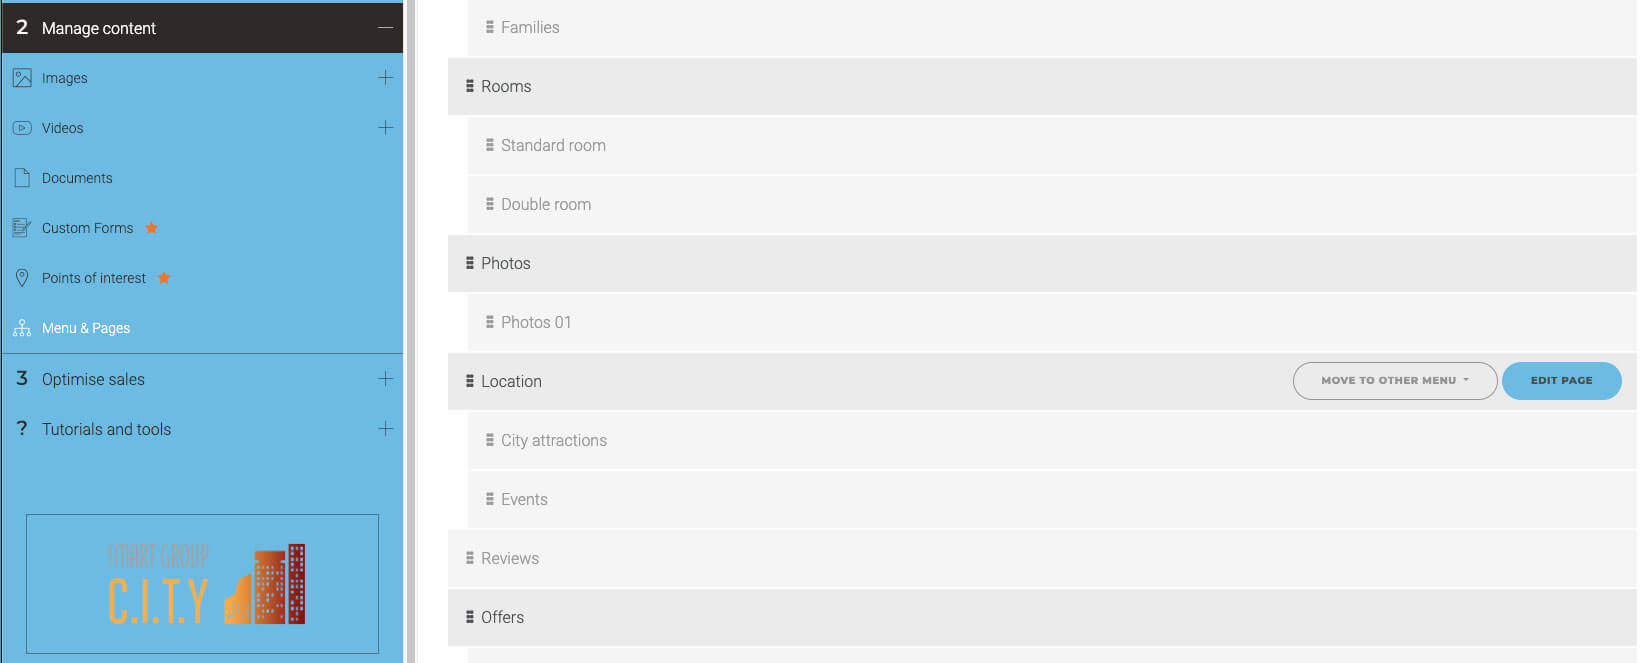
Go to Section “2. Menu & Pages” > “Location”
Go to the Menu & Pages section of the Smart CMS and find the Location page / template. Hover over the menu item to select option to EDIT page.
 |
You can have multiple location pages created in the CMS and assign different POI categories on each. See Template per page
Check firstly that the Page Setup has Location template assigned. Below this will be the Available Categories that you have added previously.
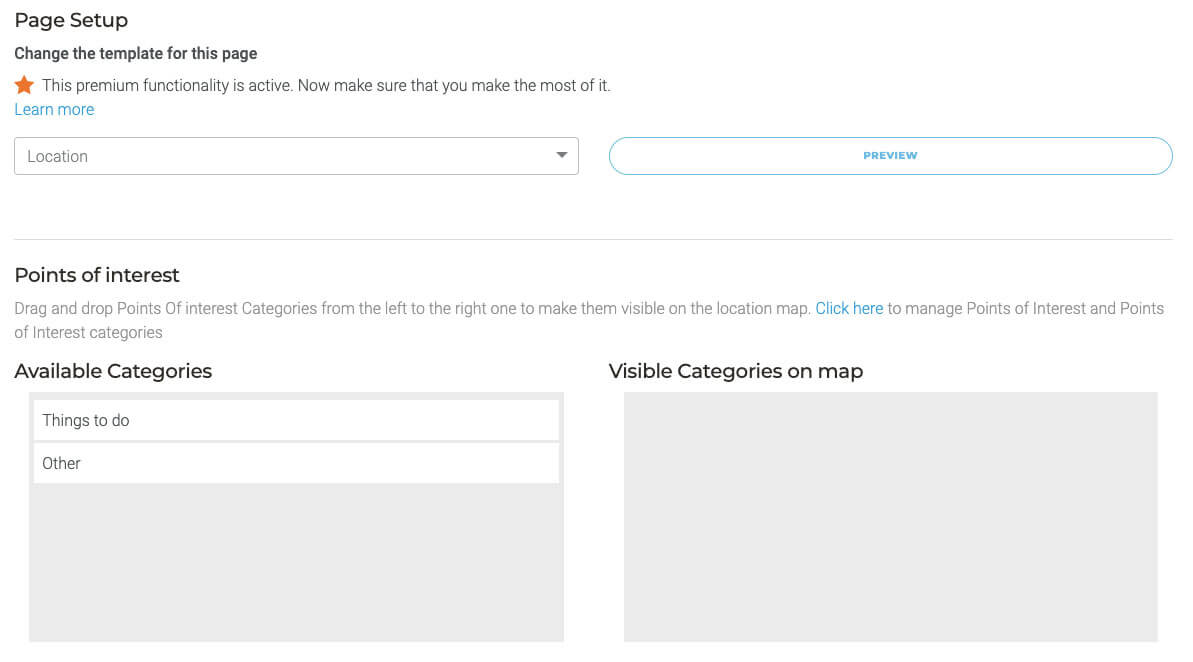 |
Drag and drop Points Of interest Categories from the left to the right one to make them visible on the location map. Don't forget to SAVE the page after the change is made.
6. Preview your website
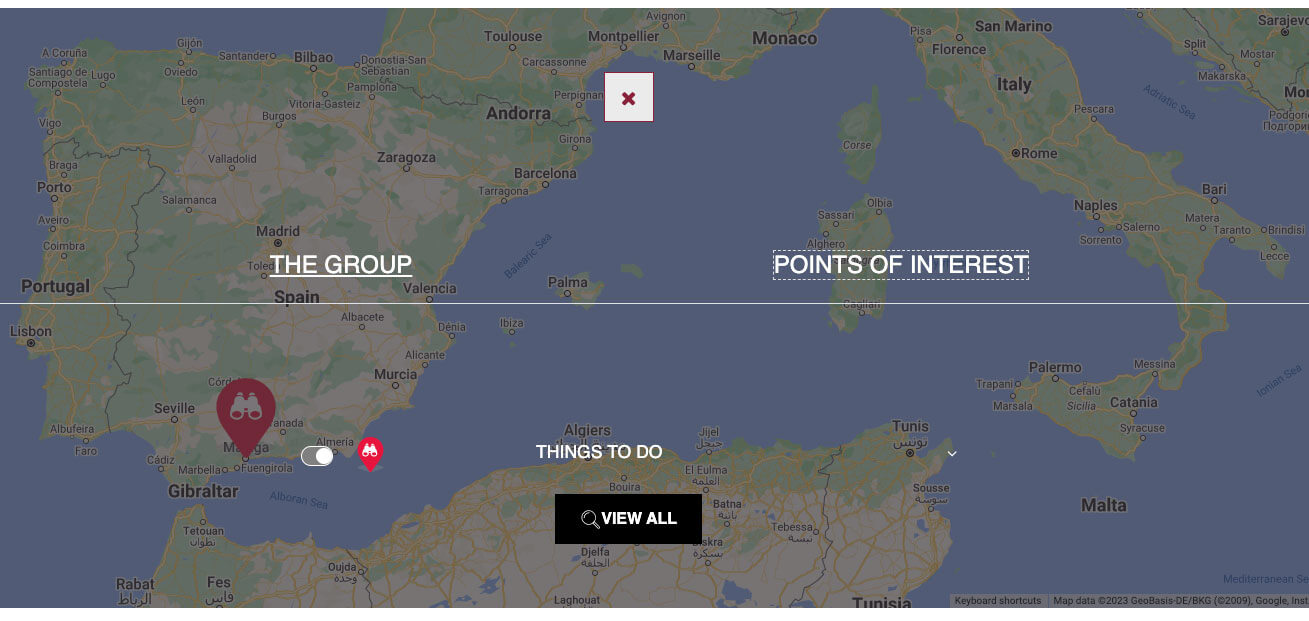
Below you will see on the location page and homepage maps there will be a "POINTS OF INTEREST" link. When selected will show the assigned pins categories with option to toggle on/off the pin categories on the map.
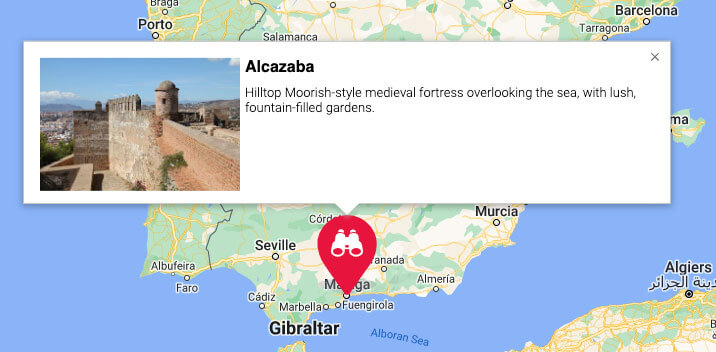
Click on a pin to get the POI name, description and POI photo.
Please, contact us if you want to activate the above premium functionality.